9 Steps to a Natural Self Tanner
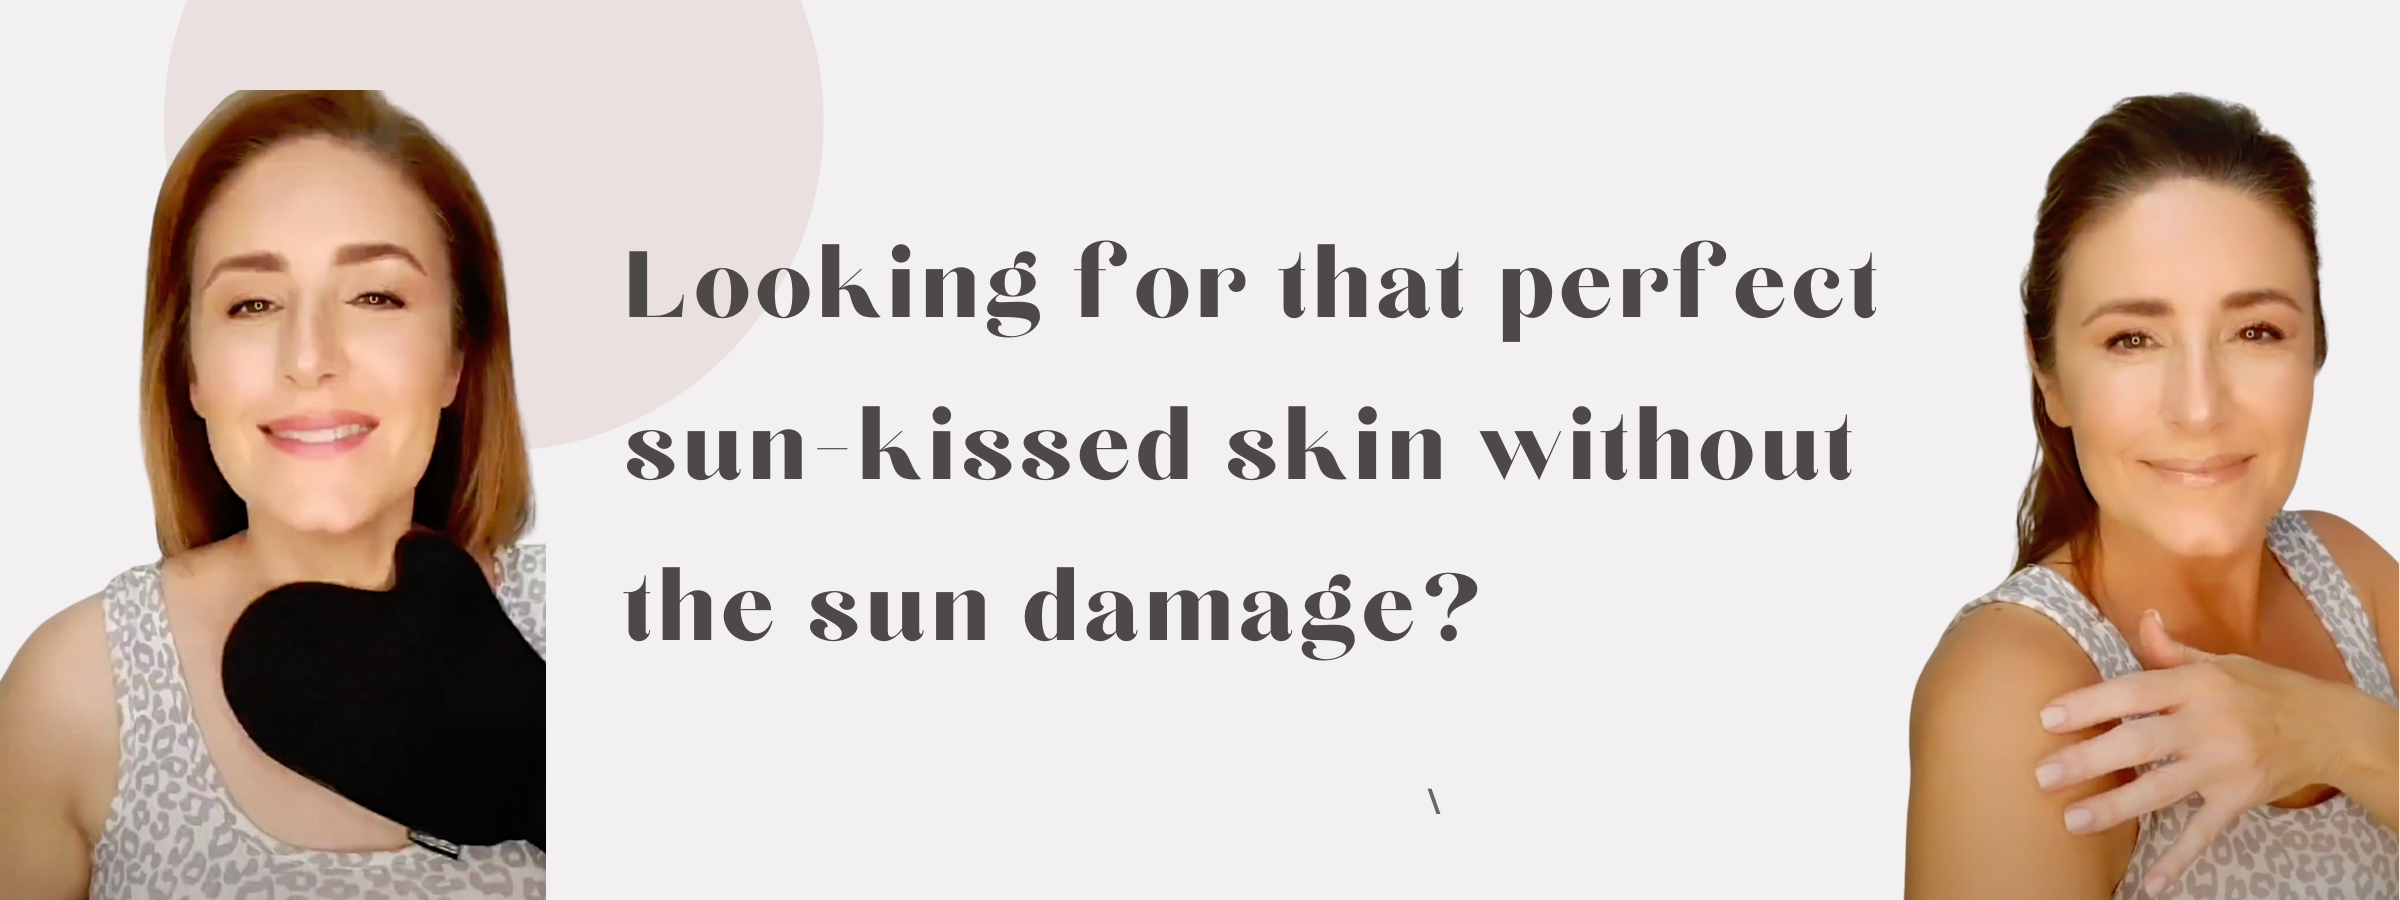
You do not have to put your skin and health at risk for that golden glow. Tanning also speeds up aging and can lead to age spots, loss of firmness, and wrinkles. I have had skin cancer three times and stay out of the sun. I do love a good self-tanner and have tested so many! I am going to share with you my favorite self tanners, along with the best way to apply them.
Here are my tips for applying self-tanner to get that flawless look:
Exfoliate! The prep is just as important as applying the product. Give your skin a good scrub. Dry patches will give you an uneven fake tan.
Apply a little moisturizer over knees, elbows, feet, or any dry areas.
Protect your hands! I always use a self-tanning mitt to avoid streaky orange palms and hands. If you do use your hands, wash immediately after the application.
Start with your legs and work your way up so you don’t accidentally smear or wipe off product that you’ve already applied.
For those more creased areas, such as your hands bend your fingers. For your legs bend your knees.
Apply in a thin layer. Massage using circular, up and down, side to side motions for the most even application.
I use a foundation brush to lightly apply to hands and feet.
Wait at least 15 minutes before getting dressed and three hours before sweating.
Build gradually. You can always apply more the next day. Get to know the product before adding too much. Once you get the color that you like, apply every 4 or 5 days to maintain.
Here are my top 3 self-tanners:


Here are the details about each product:

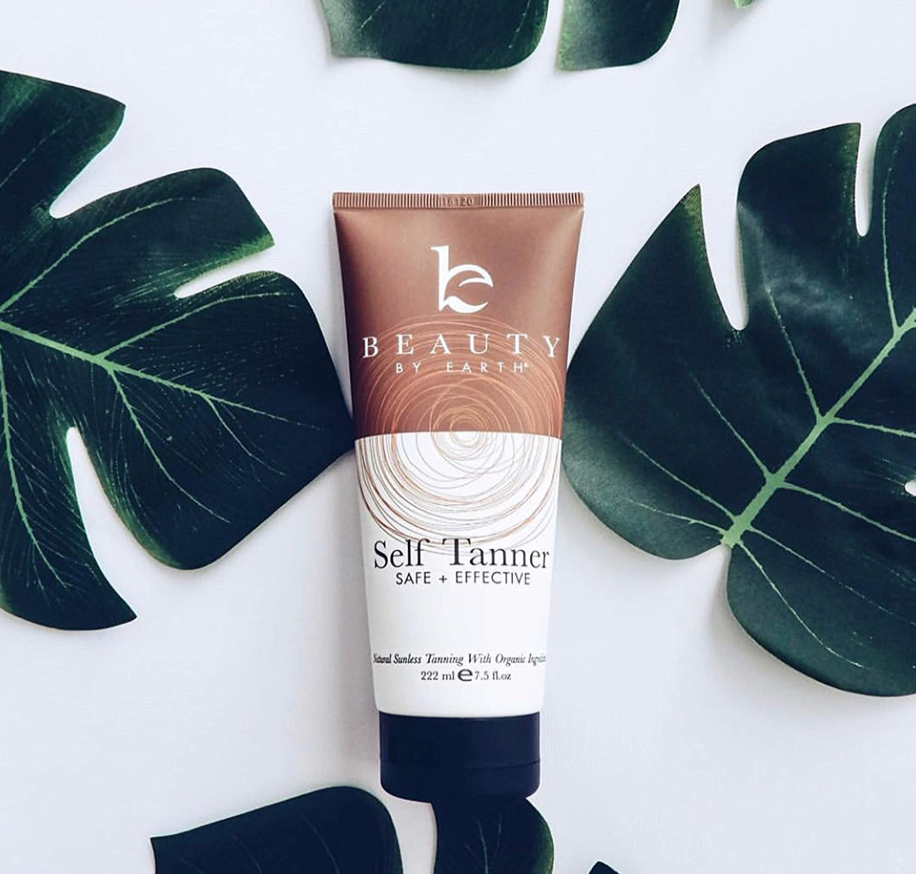
Beauty by Earth
Very moisturizing! Made with organic & natural ingredients. No harmful toxins or chemicals and cruelty-free.
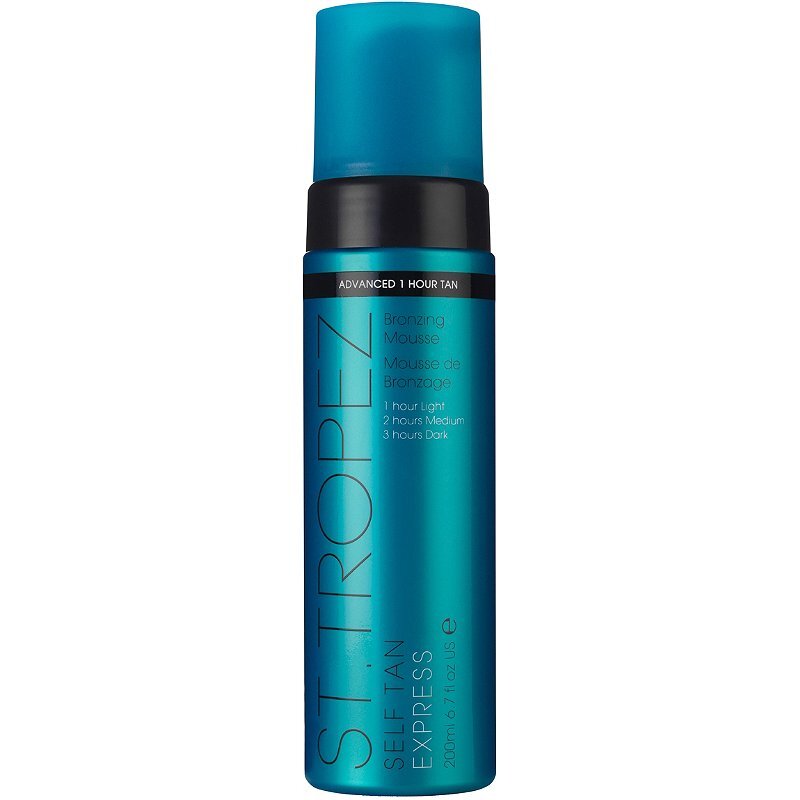
St. Tropez
Streak-free, easy to apply, and quick-drying.
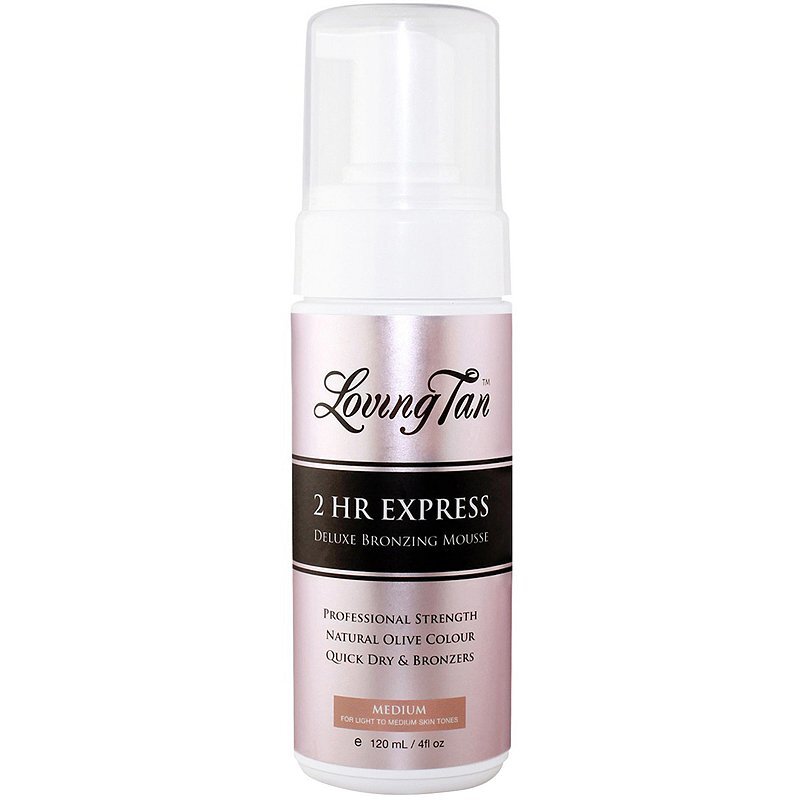
Loving Tan: 2 Hr. Express
Natural looking tan within minutes and an easy application
Don’t forget these 2 items you will need to complete your self tan process!
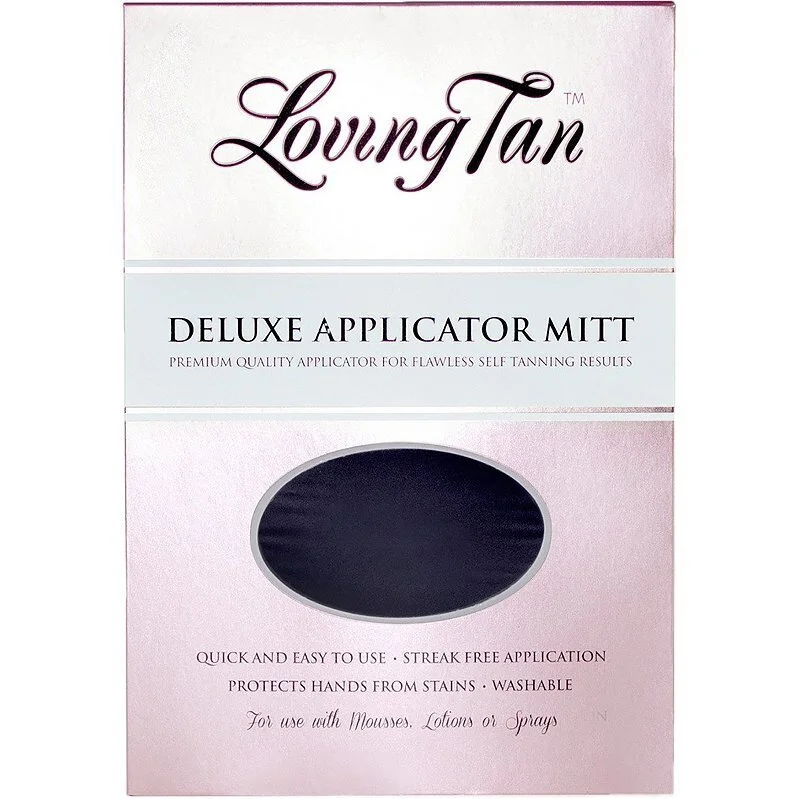
Washable Mitt
The velour surface ensures that you achieve the perfectly blended, even tan every time. Quick and easy to use.

Foundation Brush
This will enhance your tan to the next level and blend out those detailed areas.
BIG REMINDER, that most self-tanners do not contain sunscreen. So you’ll need to put on SPF if you’ll be exposing your skin to the sun.
Make sure to check out my Instagram Reel on Self Tan to see the step by step process. You can also find more tips on beauty there.